Showing posts with label step-by-step. Show all posts

Sunday, February 22, 2009

Two-color linocut (updated)

I'm working on a 2-color linocut print using the reduction process.


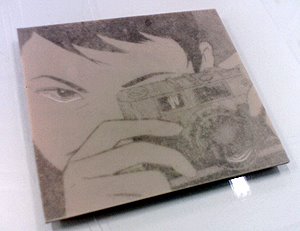
The image is first drawn, photocopied and transfered to the linoneum sheet. Then I cut out the white area and print the first (the lighter) color.


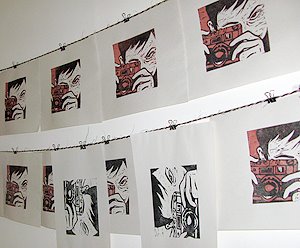
Here are the prints hanging on my make-shift drying rack after the first color is printed!
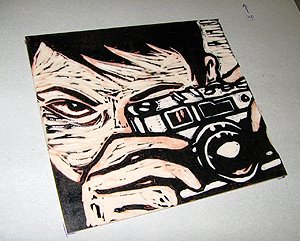


Now I cut out the area where I only want the first color (the brown area) to appear.
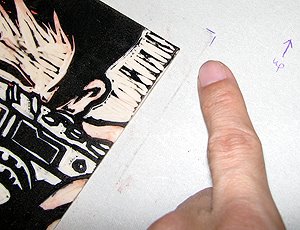


Before printing the second color (black), I made sure the lino sheet is aligned with the registration marks I made on the piece of cardboard which I used as a base template before the first color was printed.
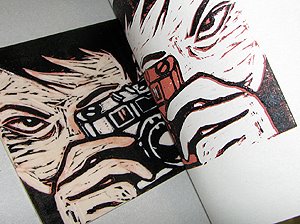


Slowly I peeled off the print...
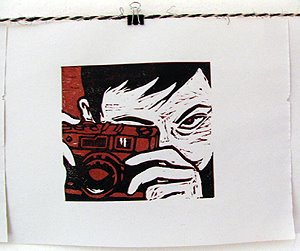


And here's the finished pieces hanging out to dry!

Wednesday, February 18, 2009

Work-in-progress

I'm working on a 2-color linocut print using the reduction process.


The image is first drawn, photocopied and transfered to the linoneum sheet. Then I cut out the white area and print the first (the lighter) color.


Here is the print after the first color is printed! Stay tuned as I continue cutting from the same lino sheet to print the second color.

Monday, January 26, 2009

Step-by-step linocut print

Here's a step-by-step guide on making a simple linocut print.


First I rolled the ink with an ink roller on a sheet of glass.


Then I rolled the ink over the surface of the lino sheet.


The paper is then laid on top of the lino sheet and burnished with a baren (or a wooden spoon in this case).


The print is then peeled slowly.


And finally here's the finished print!

LinkWithin

Related Posts with Thumbnails